
In this document you will learn how to use the
Collaborative Modeling features introduced in Viewpoint 6.3,
which allow for real-time collaboration between remote users on any kind of representation supported by Viewpoint (diagrams, tables and trees).
The Viewpoint
Collaborative Modeling features allow you to share semantic models and representations
with several remote users.
All shared semantic models and representations are stored on a remote
Server (that you will be able to
launch yourself ).
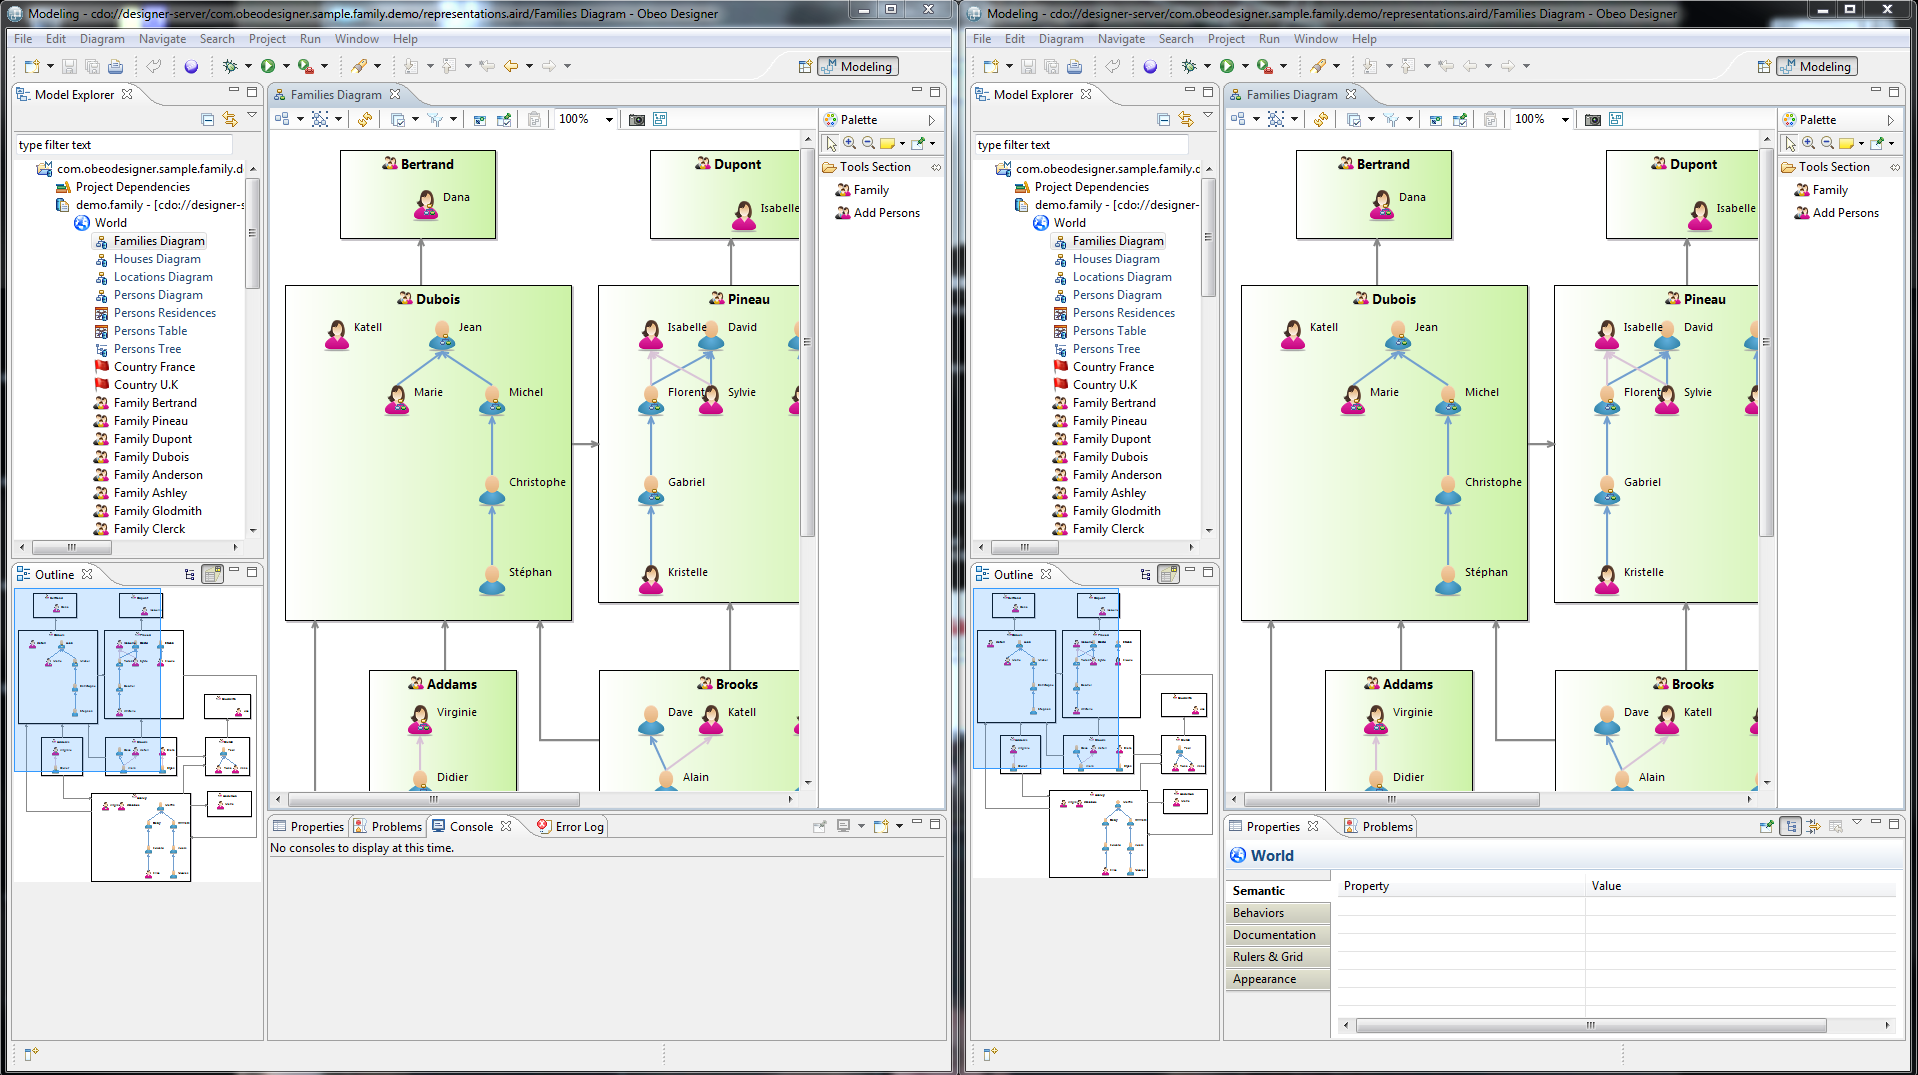
Whenever you make a modification on a shared representation, saving the Modeling Project
propagates your changes in real-time to all users that have opened the same representation.
Any time a user makes a modification, Viewpoint relies on a fined grained lock mechanism that locks automatically all the elements that have been modified, so that no other user can edit it while the modifications have not been committed. This automatic locking feature prevents the users from any conflict, and hence from any manual merging phase. Of course, the Viewpoint platform will allow you to customize the automatic lock policies or simply disable it.

The Server technology ( CDO ) supports many VCS-standard features like branching or auditing. For simplicity reasons, the default Viewpoint UI does not provide actions for such features, but the underlying Viewpoint platform will allow you to define your own branch managers or audit handlers.
The starting point of Collaboration is the setting-up of a Collaborative server.
The Obeo Designer Server is a ready-to-use Collaborative server, optimized for Viewpoint Collaborative features and customizable according to your specific needs.
We strongly advice you to read the Obeo Designer Server User Guide to get started, although the other methods described below are valid alternatives.
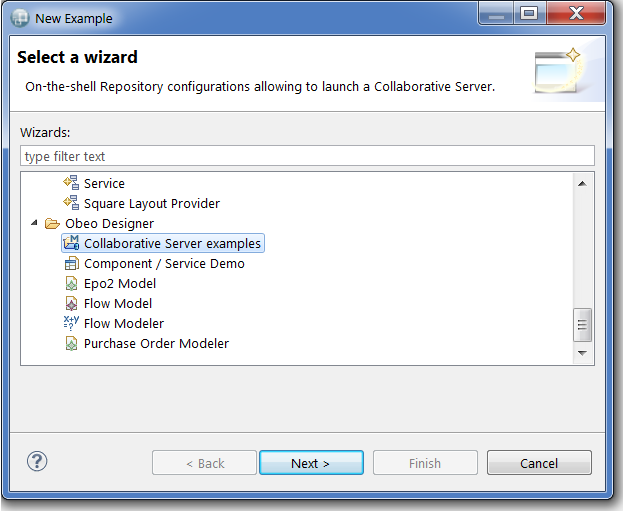
Viewpoint provides 3 default launch configurations allowing to set-up 3 default servers. To load these default configurations, import the
Collaborative Server examples by selecting
File > New > Example... > Obeo Designer > Collaborative Server examples
After having imported the example project, you should be able to launch 3 different servers (from
Run > Run Configurations... > Eclipse Application). The following table presents the differences between each default Server configuration:
| Server configuration name | Collaborative server – Default | Collaborative server – Authenticated | Collaborative server – Memory |
|---|---|---|---|
| Basic Server description | Informations are stored in an H2 database. | Forbids access to non-authenticated users. Informations are stored in an H2 database. | Informations are stored in memory (no data persistence). |
| Persists all informations inside a database | ✓ | ✓ | ✗ |
| When stopped and relaunched, retrieve the previous elements state | ✓ | ✓ | ✗ |
| Allows anonymous log-in | ✓ | ✗ | ✓ |
| Supports authentication | ✗ | ✓ | ✗ |
| Supports branching | ✗ | ✗ | ✓ |
| Supports auditing | ✗ | ✗ | ✓ |
| Set-up instructions | Launch the
Collaborative Server [default] configuration
|
✓ Copy/paste the file listing the repository users (
fr.obeo.dsl.designer.sample.collab.server/serverconfig_authenticated/designer-server.users) inside your Obeo Designer folder ✓ Launch the Collaborative Server [authenticated] configuration ✓ You can add new users by modifying the designer-server.users file |
Launch the
Collaborative Server [memory] configuration
|
| How can I check that my server is started ? | ✓ For performance considerations, server logging is deactivated. Open the debug view (
Window > Show View > Other ... > Debug) ✓ Check that the Collaborative Server process is active
|
||
| Tear-down instructions | ✓ Open the debug view (
Window > Show View > Other ... > Debug) ✓ Select the Collaborative Server process ✓ Right-click and select Terminate
|
||
java -Dnet4j.config="$PATH_TO_SERVER_CONFIG_FOLDER" -jar $PATH_TO_EQUINOX_LAUNCHER -application org.eclipse.emf.cdo.server.app
plugins/org.eclipse.equinox.launcher_1.1.1.R36x_v20101122_1400.jar
You can customize any feature of the default server configurations. This section will only give some examples of customization, please refer to CDO documentation to get a complete documentation of server configuration files.
Let’s take the following example : you want to modify the
Collaborative server - Authenticated configuration to make it support branching.
Open the
serverconfig_authenticated/cdo-server.xml file and change the
<property name="supportingBranches"> value to
value="true". By editing this configuration file, you can modify the server behavior like the storage of informations inside the server (
MappingStrategy), define an alias for the server (
overrideUUID)... The changes in configuration files will be applied during the next server start up.
CDO provides API to implement your own CDO Server. Pleaser refer to CDO documentation to get additional informations about Server implementation.
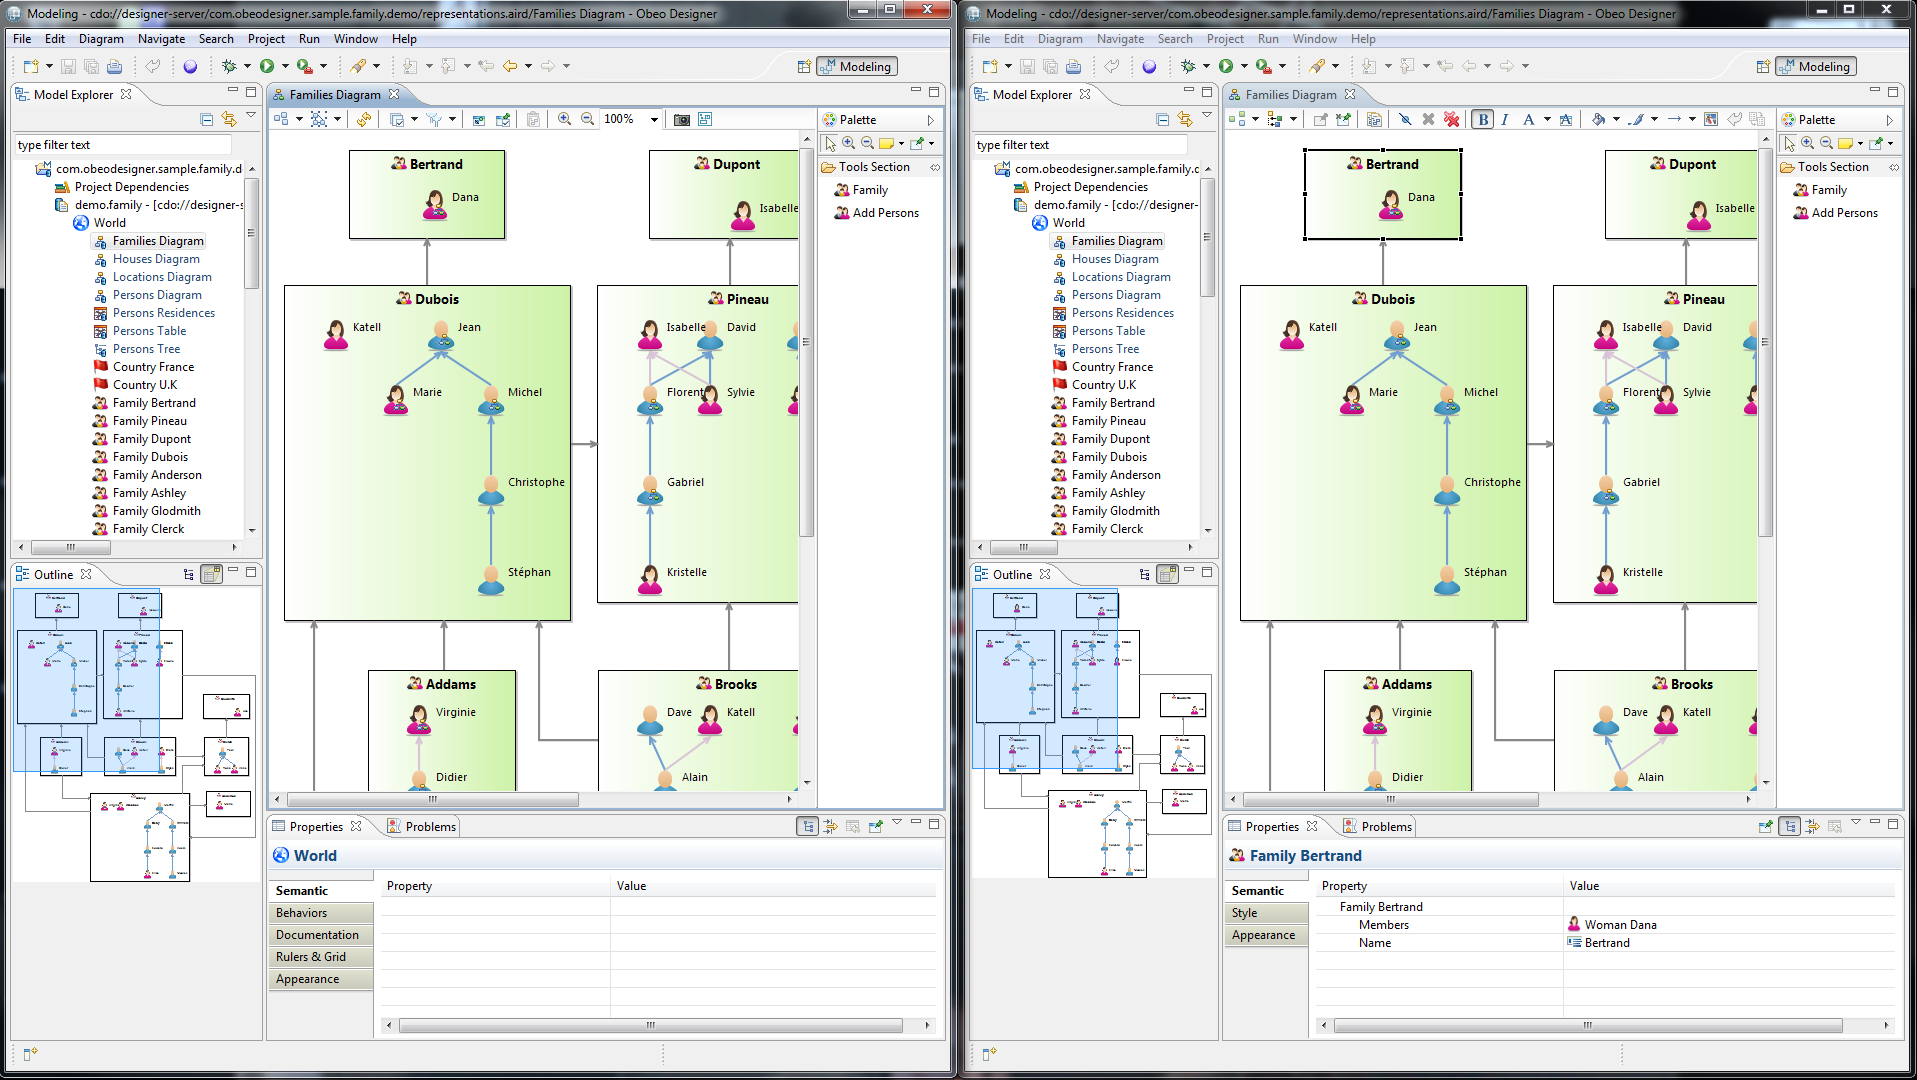
This section explains how to share a Local Modeling Project, connect to a Shared Modeling Project and download a local copy of a Shared Modeling Project. Any users connected to the same Shared Modeling Project will see all changes made by other users in real-time.
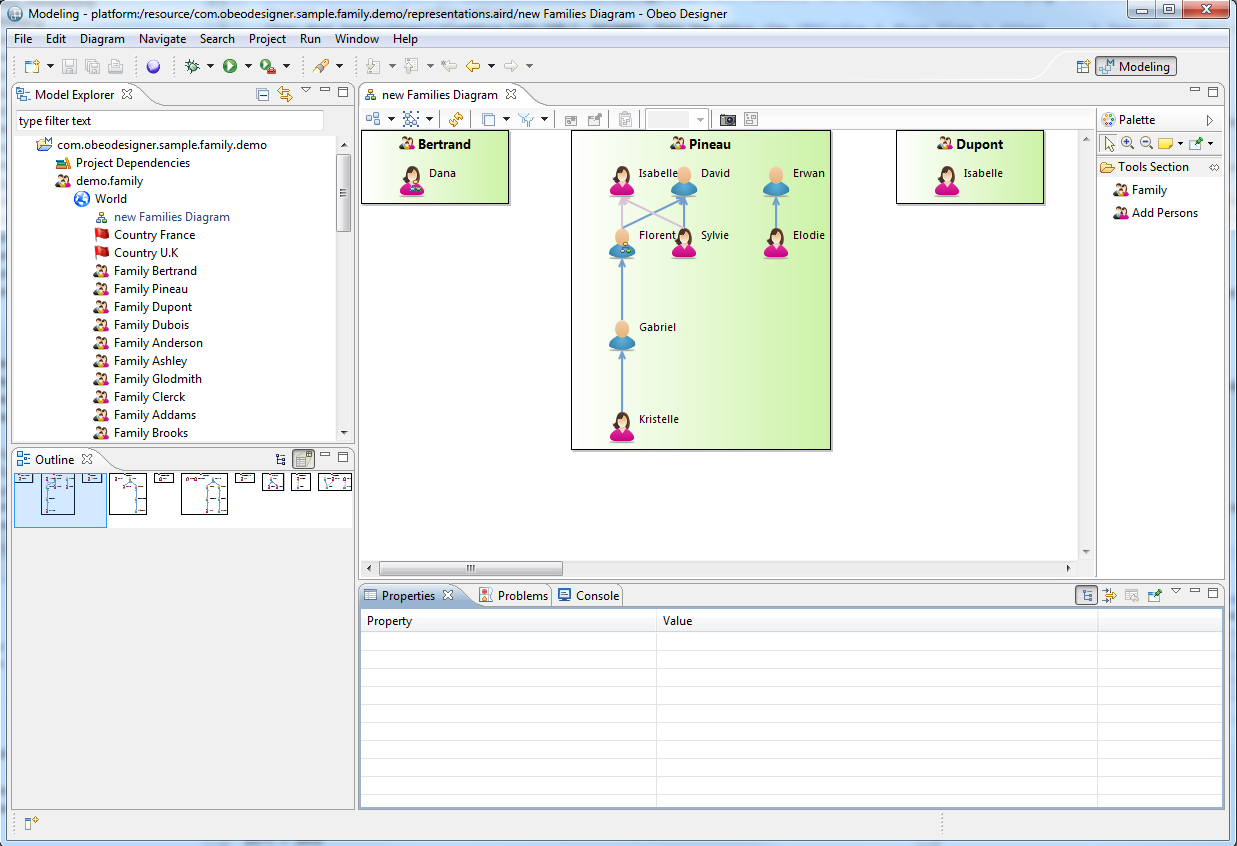
The first step toward Collaboration is to share a Modeling Project, i.e. upload a local Modeling Project on the Server. To do so :
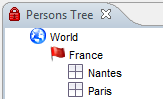
File > New > Modeling Project), add local semantic resources and create some representations. You should have the following state :
Export... > Viewpoint > Shared Modeling Project from Local
Next.
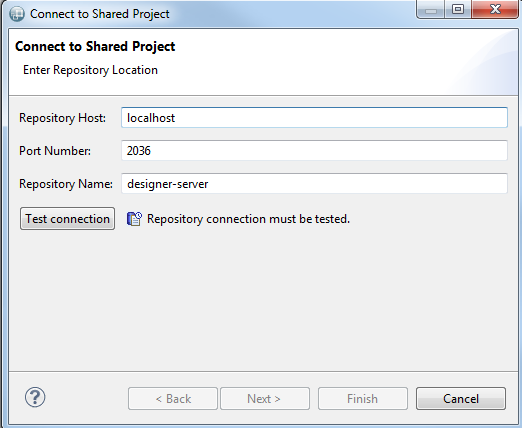
Repository Host to the Server IP address (e.g.
192.0.0.23) otherwise. Notice that you can define a default sever location through the
Collaborative Preferences . Click on
Test Connection to be able to perform Finish.
Your project is now exported on the Server, and any other user can Connect to this project and Collaborate with you.
Once a project has been exported , any user is able to connect to it by creating a Shared Modeling Project.
To do so :
File > New > Viewpoint > Shared Modeling Project)
Repository Host to the server IP address (e.g.
192.0.0.23) otherwise. Notice that you can define a default sever location through the Collaborative Preferences. Click on
Test Connection to be able to go to next Step.
Finish. A pop-up allowing you to select the Viewpoints to activate on this new Shared Modeling Project should be displayed.
Your Shared Modeling Project is now connected to the server, and all the users connected to the same project will see the changes you make in real-time.
A Shared Modeling Project provides some specifities and additional behavior. Please refer to
the Shared Modeling Project documentation to learn these specificities.
Viewpoint allows you to download local copies of Remote Projects stored on a Server. The resulting local copy is a standard Modeling Project, completely disconnected from the server and other users.
It does not support collaborative modeling, but can be used even if you do not have access to a Server and/or in a version of Viewpoint without the collaborative modeling support enabled.
A typical usage of this feature would be to download a local copy of a Shared Modeling Project every month, and to commit this local copy on a VCS-based repository like SVN.
To Import a local copy of a Shared Project:
File > Import... > Viewpoint > Modeling Project from Remote
Repository Host to the server IP address (e.g.
192.0.0.23) otherwise. Notice that you can define a default sever location through the
Collaborative Preferences . Click on
Test Connection to be able to go to next Step.
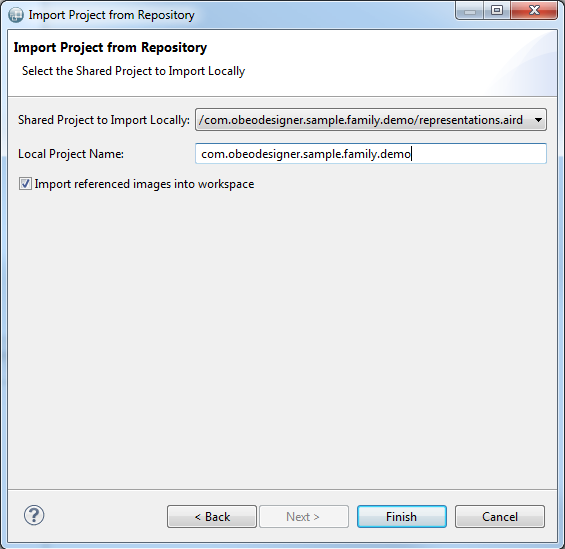
Finish. A pop-up allowing you to select the Viewpoints to activate on this new local Modeling Project should be displayed.
This section provides an overview of the specificities and features provided by a Shared Modeling Project.
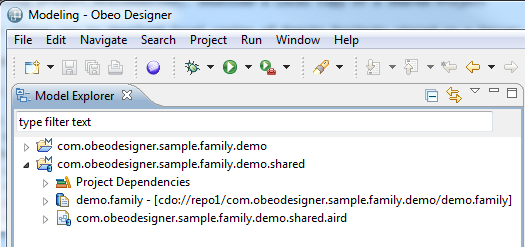
A Shared Modeling Project is distinguishable from a standard Modeling Project by a
Shared Decorator on the lower-right corner.
All the semantic resources are displayed with the same Decorator, and so do the representations.
For simplicity reasons, the default Viewpoint UI only allows fully shared projects (i.e. projects in which all representations and semantic resources are Shared). However, the underlying platform supports projects having both local and shared semantic models, and both local and shared representations.
To add an existing Shared Semantic Resource (already stored on a Server) to a Shared Modeling Project, you can :
Add Remote Model.
Add Model.
To upload a new Shared Semantic resource (from a local resource) to a Shared Modeling Project, you can :
File > Export > Shared Semantic Resource from Local) to upload them into the repository. Once it is done, Right-click on the
Project Dependencies node and select
Add Model.
The Shared Modeling Projects keep tracks of all modifications made on the Server. From any shared element, including the Shared Modeling Project, right-click and select
Show Commit History to open the
Commit History View.
This view lists all the commits (saves) that occurred on the Modeling Project, displaying the following information:
| Time | User | Description |
|---|---|---|
| The date of the commit | The login of the user that committed the change (only if Server supports authentication) | The Commit description associated to this commit. |
By nature, a Shared Modeling Project needs to be constantly connected to the Server. When Viewpoint is closed with opened representations held by a Shared Modeling Project, the next opening will cause a silent reconnection to the server, allowing to access all informations needed to re-open editors on these Shared representations.
At any time, if a connection problem with the server is detected, a pop-up explaining the cause of the error is displayed and
the Project is automatically closed.
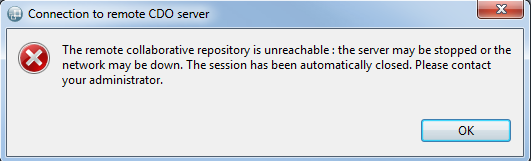
As soon as the connection with the Server is retrieved, you will be able to open your Shared Modeling Project again.
The technology used to
create Servers provides an authentication support. If the Server you try to connect to requires authentication, a pop-up allowing you to enter your login and password will be displayed whenever you want to connect.
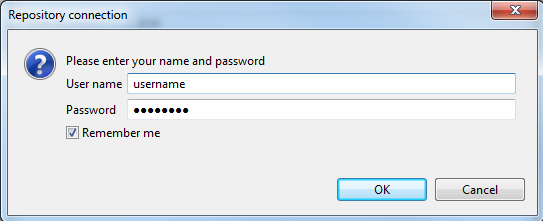
Notice that if you check the
Remember Me checkbox, then the login and password will be stored inside Eclipse Secure Storage, and will not be asked again. If you fail to provide a valid login and password, then you will not be able to connect to the server or open an existing Shared Modeling Project.
As a Shared Modeling Project is meant to be shared by several users, some restrictions have to be defined on each user environment :
When you make modifications on shared representations or semantic models, your changes will be committed on the Server whenever you Save your editor/Modeling Project. Consequently, all the changes you make will not be visible to other users until you perform a Save action.
Notice that the underlying platform allows to customize the behavior, by introducing a decorrelation between save and commit.
Whenever a remote user commits (saves) a change on a shared model or representation, you will receive this change in real-time. According to your Refresh preferences (i.e. if Automatic Refresh is activated or not), the impacted representations will be updated in real-time or after a manual refresh.
In Automatic Refresh: all the changes committed by other users are integrated in real-time.
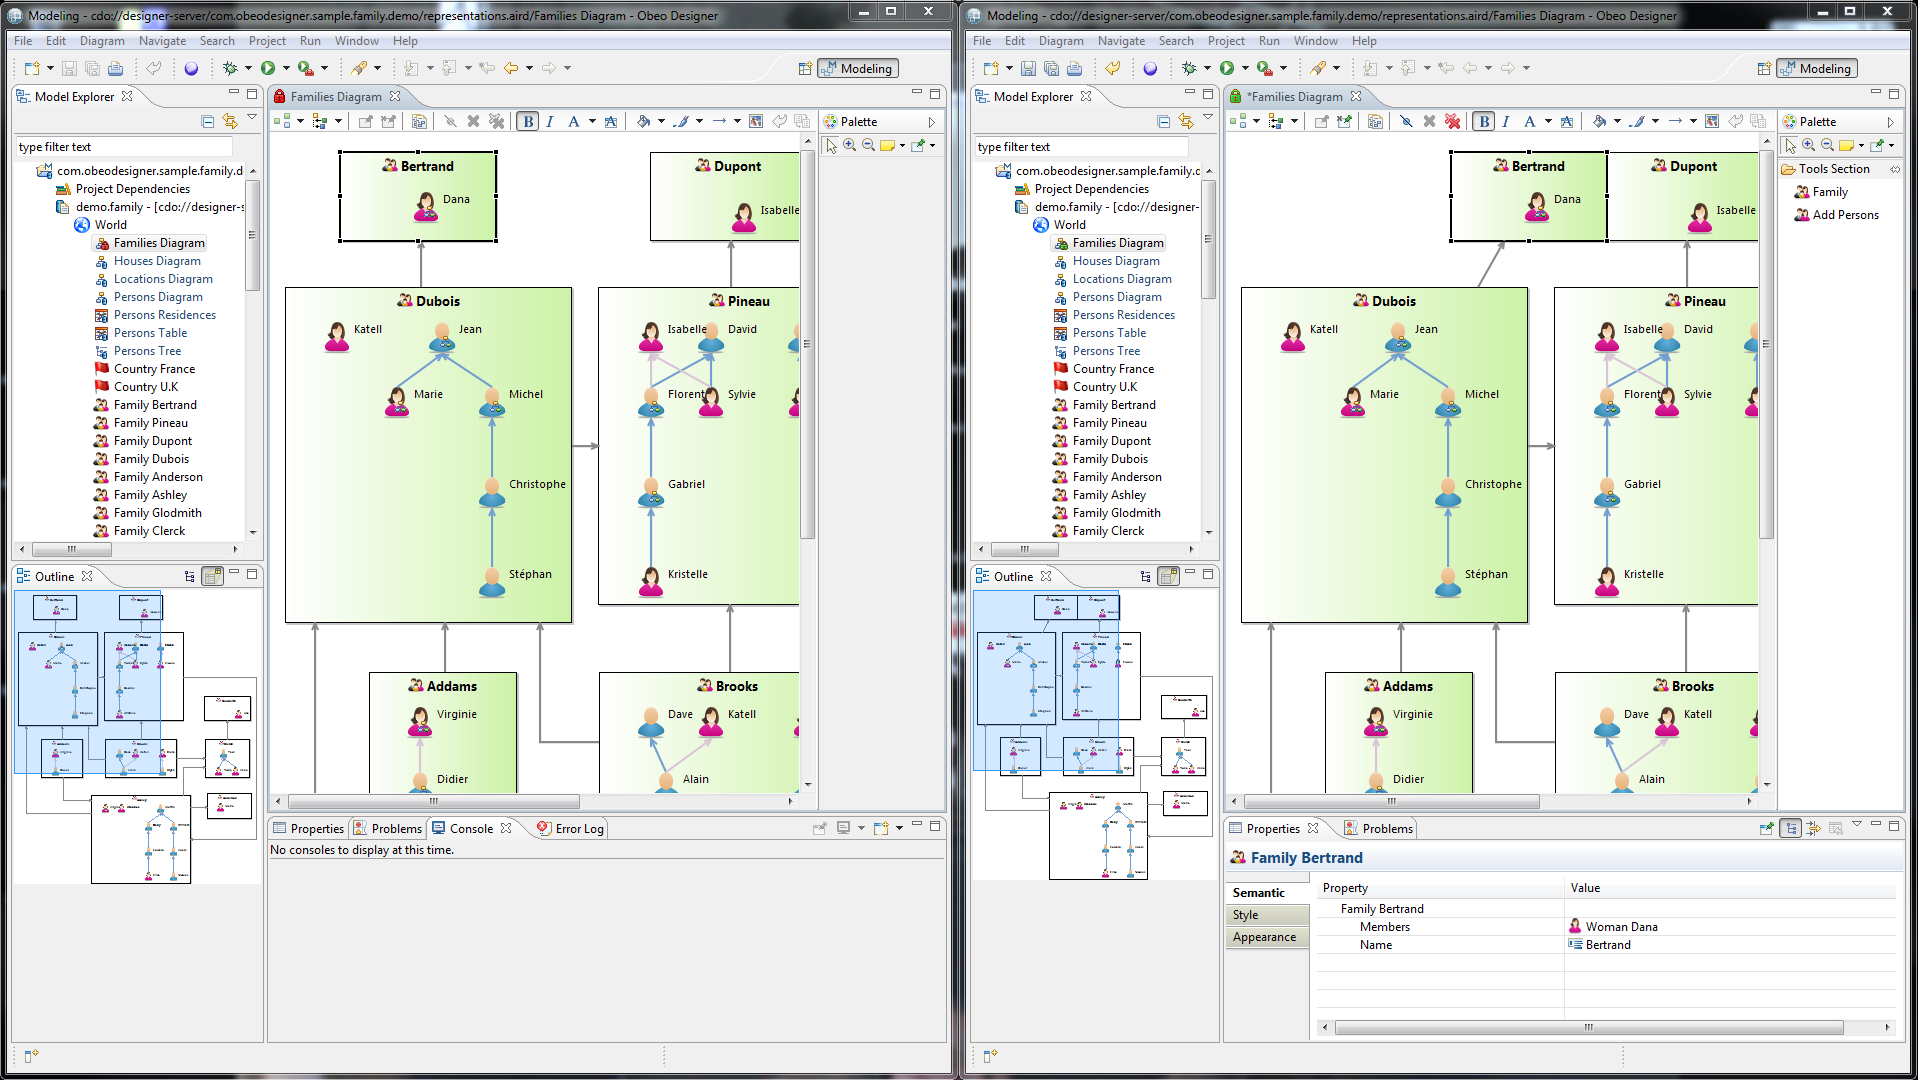
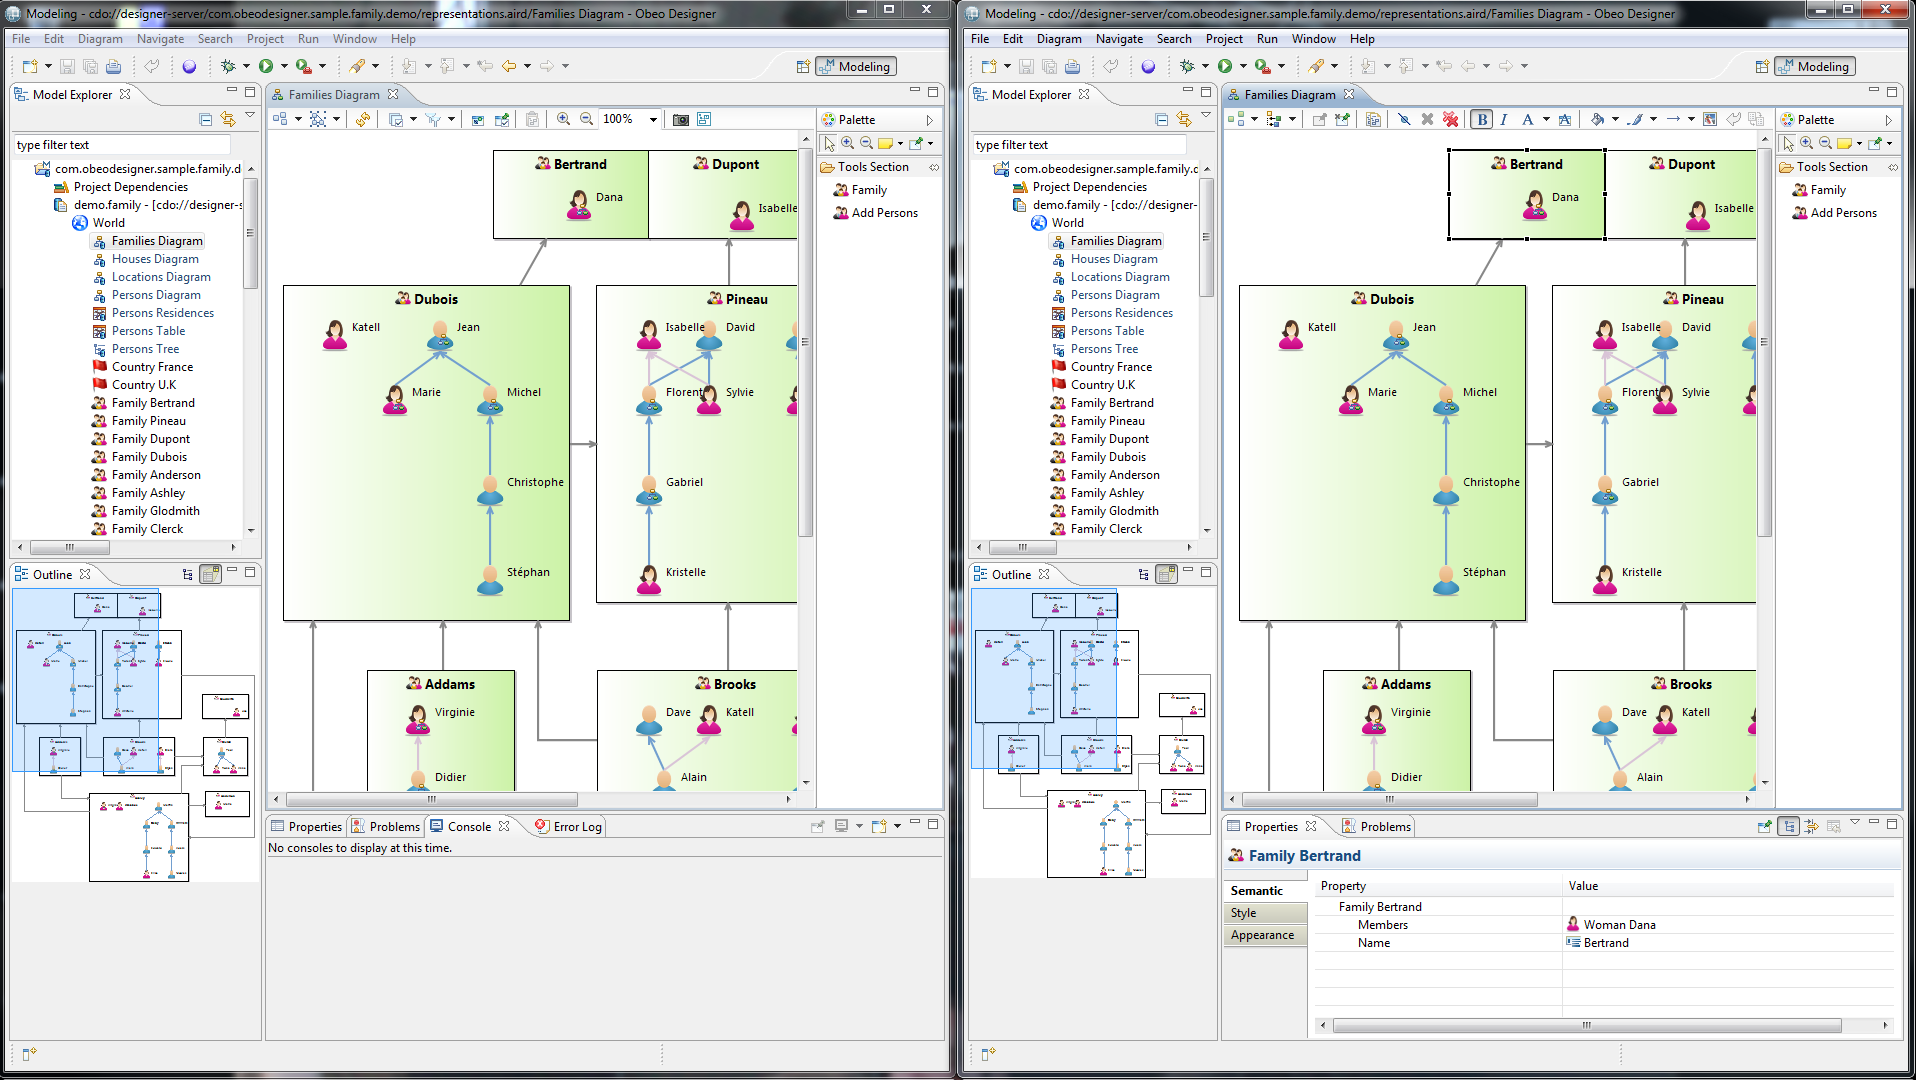
In Manual Refresh: when a change committed by another user impacts a representation you are working on, then an icon indicates that this representation Needs Refresh.
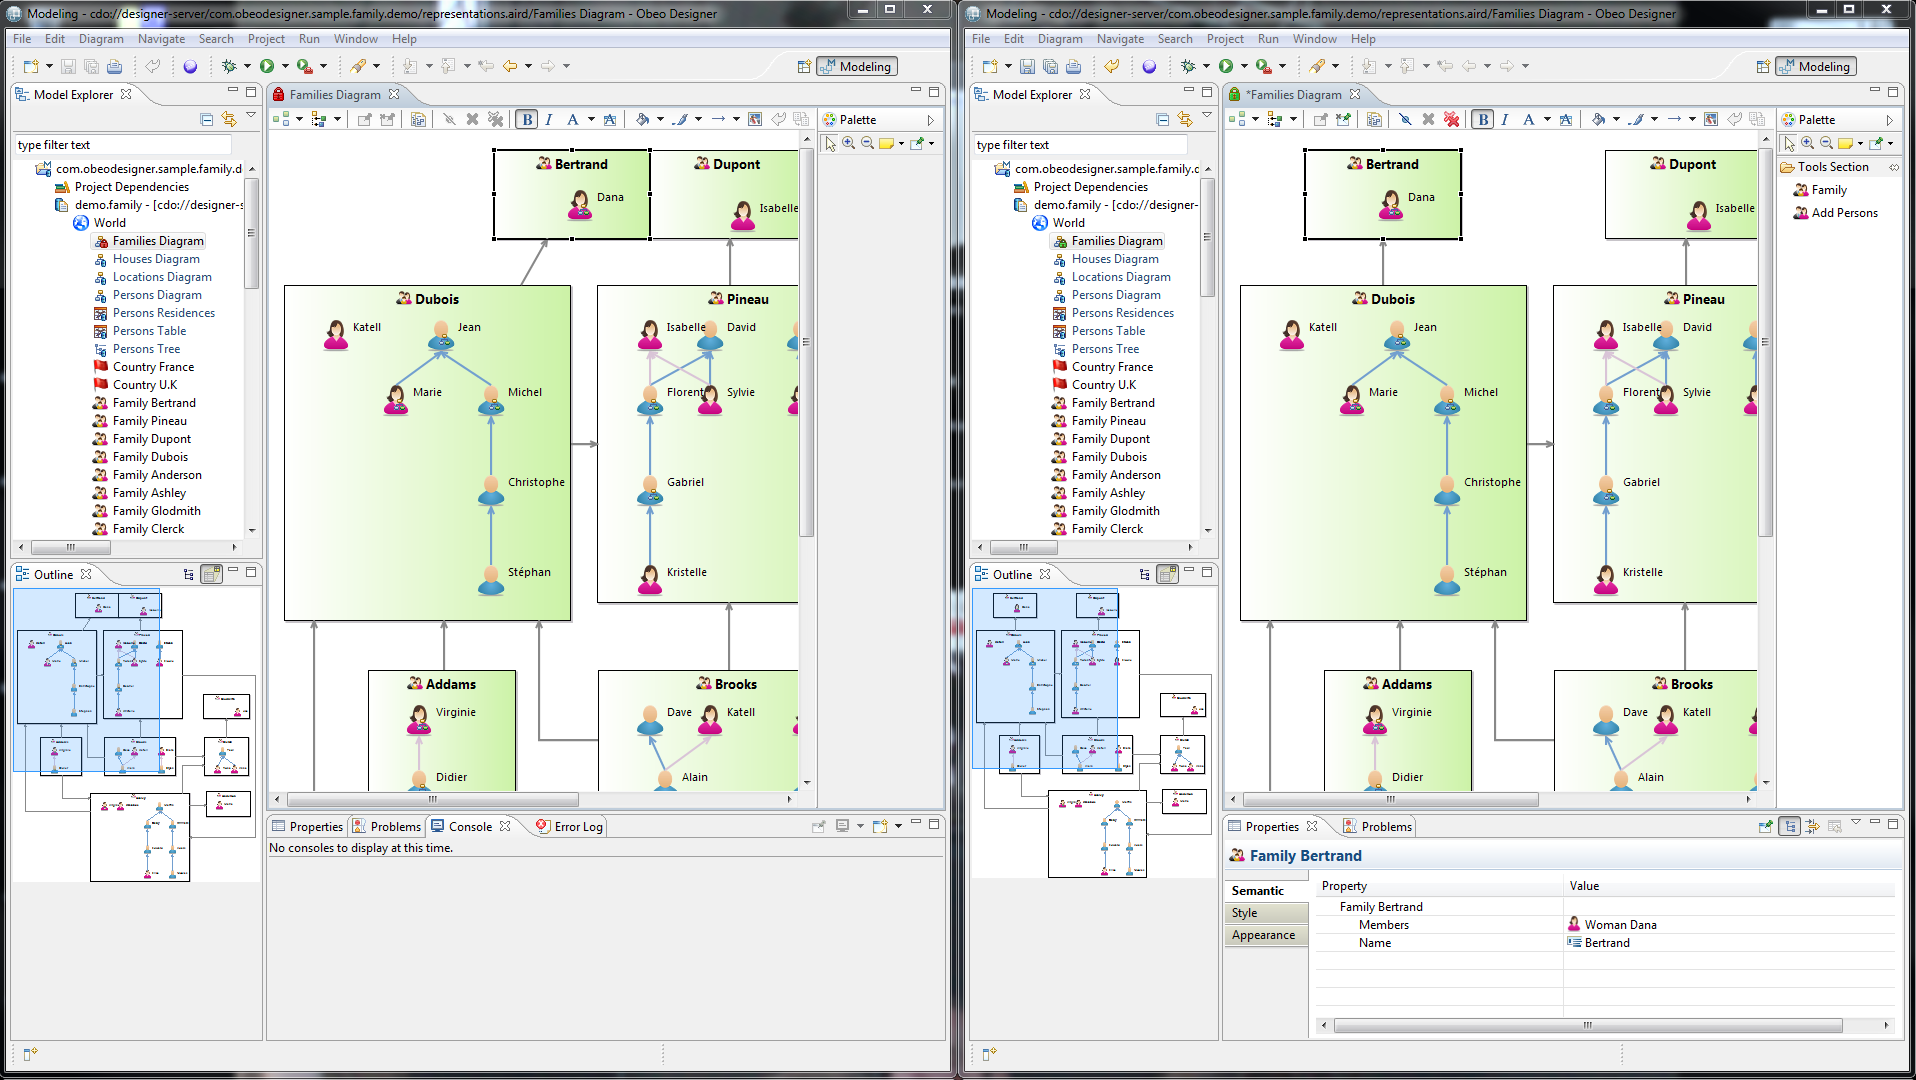
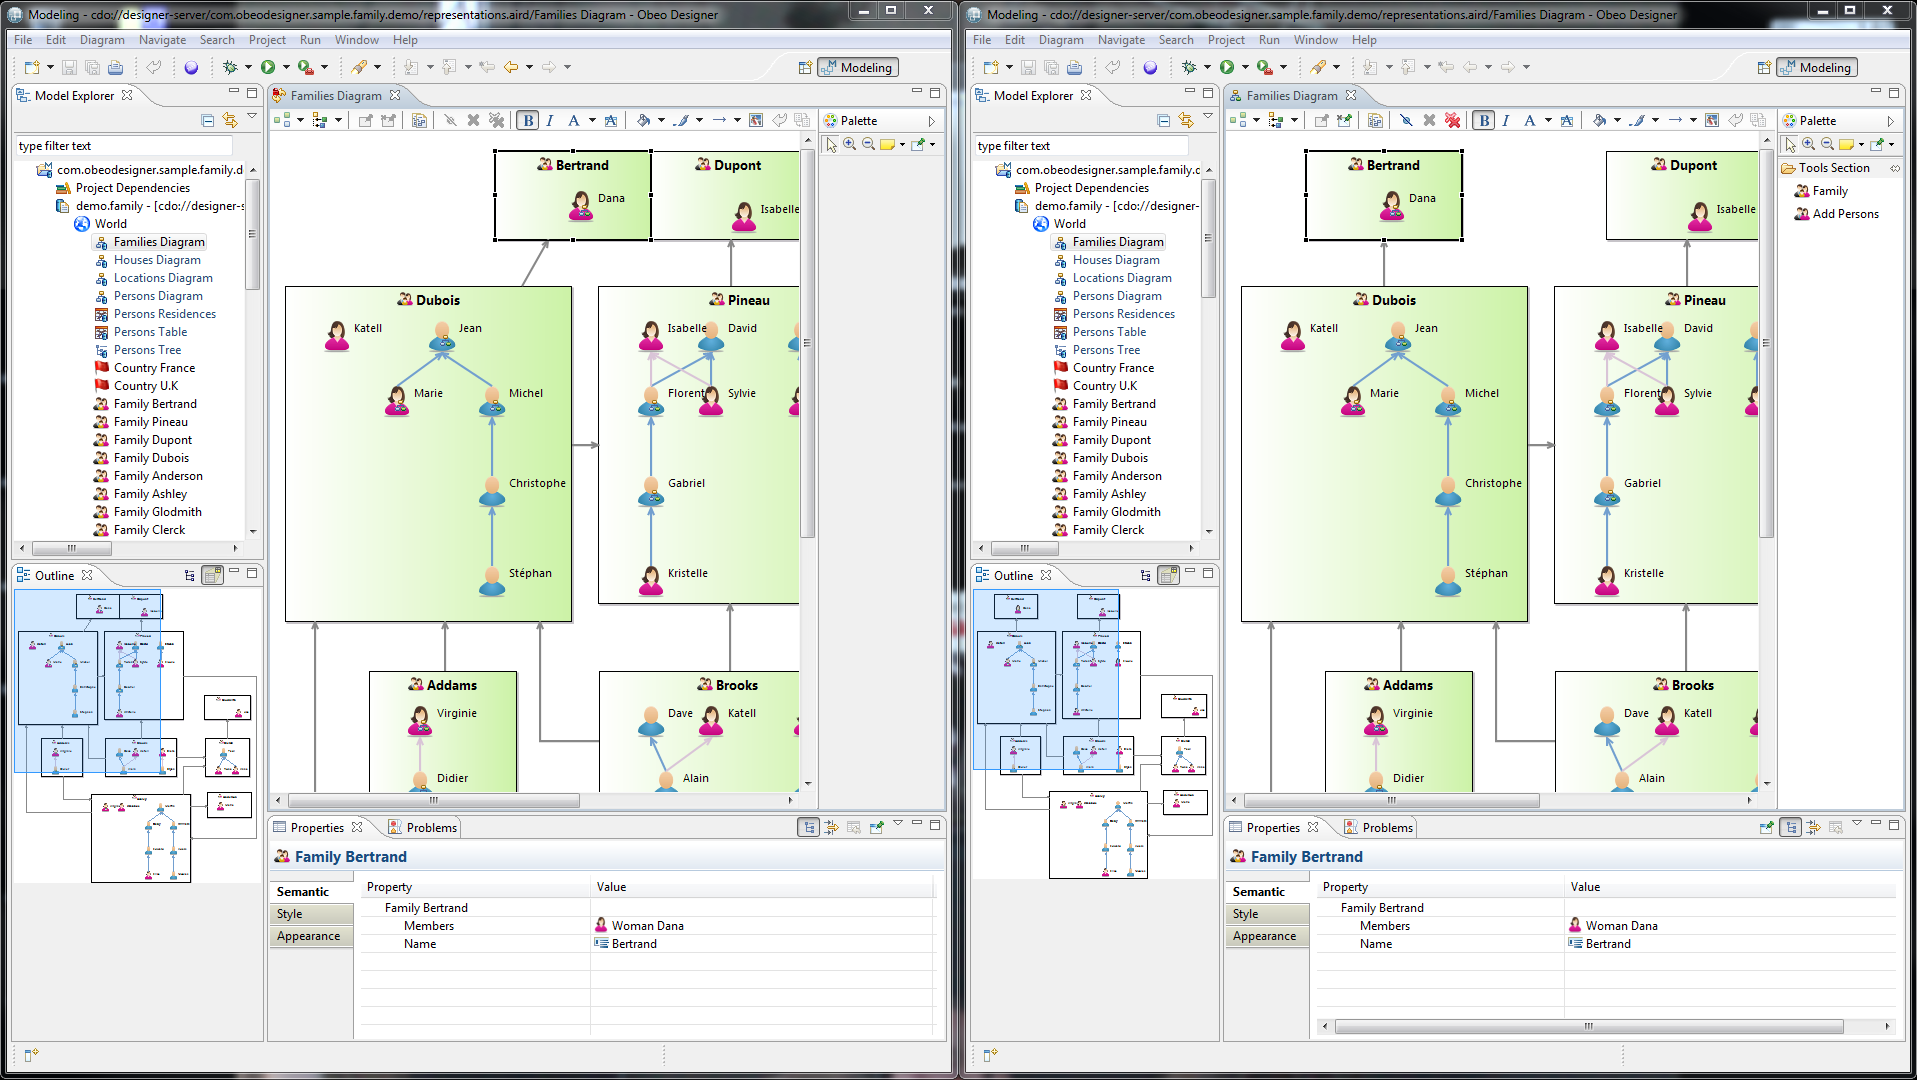
You will not be able to make any change on this representation until you launch a manual Refresh. Changes will then be integrated, and you will be able to edit the representation again.
This section is about giving an overview of the locking mechanisms provided by the Shared Modeling Projects.
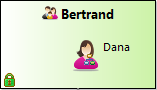
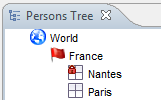
When an element is locked by another user (semantic or graphical), it is displayed with a red padlock. In this case, you will not be able to:
You will be able to use 2 different kind of locks:
When you know that you are going to work on some elements (semantic or graphical), and do not want other users to interfere with your work, you will be able to lock those elements on demand.
To do so, select the elements you want to lock (from the
Model Explorer view or from your current representation), right-click and select
Lock/Unlock... > Lock element action.

The selected element are now locked (green padlocks indicate that you have the lock on these elements), and cannot be edited by anyone until you select the
Lock/Unlock... > Unlock element action.
Closing the Modeling Project or exiting the application will not release any lock lock on demand.
Notice that you can lock/unlock directly an element and all its children by selecting the
Lock/Unlock... > Lock elements and all its descendants action.
To lock a representation, simply right-click on it from the Modeling Explorer view or select the background of a representation an select
Lock/Unlock... > Lock representation.
The Viewpoint API will allow you to specify whether locks on demand should be released when closing the project or exiting the application. Default behavior considers that such locks should be kept until the user performs an unlock action.
Whenever you modify a shared semantic or graphical element, an automatic lock will be placed on this element preventing any user from modifying the same element.
To determine which element should be locked in regards to a modification, we apply rules based on common sense:
These are the default rules for automatic locking. The underlying platform allows you to specify your own Lock Strategies
Automatic locks are released when you save (commit) your modifications. Closing the Modeling Project or exiting the application will release any automatic lock.
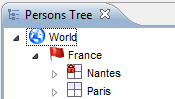
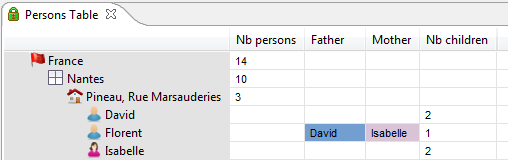
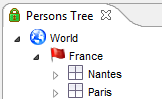
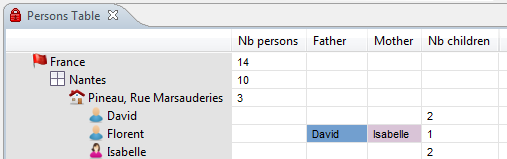
This section details the behavior of each Representation (Diagram, Table, Tree) when elements are locked.
| Diagrams | Tables | Trees | |
|---|---|---|---|
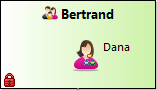
| Appearance of a graphical element when underlying semantic element is locked by the current user |
|

|

|
| Appearance of a graphical element when underlying semantic element is locked by a distant user |

|
|
|
| Behavior of the Editor when the Representation is locked by the current user |
 ✓ Unrestricted |
 ✓ Unrestricted |
 ✓ Unrestricted |
| Behavior of the Editor when the Representation is locked by a distant user |
 ✗ Impossible to move any graphical element ✗ All palette tools are disabled ✗ Impossible to make any graphical modification (Arrange All, Pin/Unpin, Show/Hide...) ✗ You can still edit semantic elements through the property view |
 ✗ Impossible to make any graphical modification (resize a column/a cell...) ✗ You can still edit semantic elements through the property view |
 ✗ Impossible to make any graphical modification (expand/collapse a Tree item...) ✗ You can still edit semantic elements through the property view |
| Behavior of the Editor when a sub Representation Element is locked by the current user | Cannot happen: when making a graphical modification, the whole Diagram is locked, and not just the modified graphical element. |
 ✓ Unrestricted |
 ✓ Unrestricted |
| Behavior of the Editor when a sub Representation Element is locked by a distant user | Cannot happen: when making a graphical modification, the whole Diagram is locked, and not just the modified graphical element. |
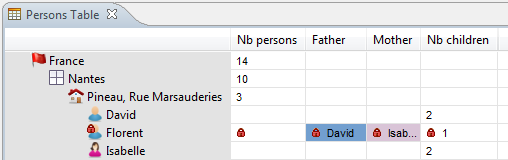
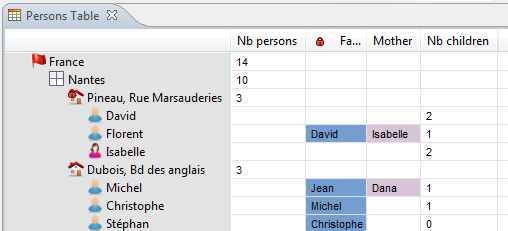 ✗ Impossible to resize the locked Column/Cell. |
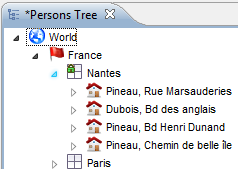
 ✗ Impossible to expand/collapse the locked Tree item. |
As any other component of Viewpoint, the Collaborative Features can be customized through the use of Preferences. To change Collaborative Preferences, got to
Window > Preferences > Viewpoint > Team collaboration.
Allows to specify the default location of the Server.
| Server location | Port number | Repository Name |
|---|---|---|
The IP address of the server. If you launched the server, you can use
localhost. Otherwise, you will have to enter the IP address of the Server (e.g.
192.0.0.23).
|
The port number on which the server has been launched. You can easily retrieve this information by opening the
cdoserver.xml file you used to launch the server, and look at the
port="XXXX" value.
|
The Repository name.You can easily retrieve this information by opening the
cdoserver.xml file you used to launch the server, and look at the
repository name="XXXX" value
|
By activating this preference, any time you will perform a Save that involve Shared Semantic Resources or Representations, a pop-up asking you to enter a comment explaining your changes will be displayed.
This commit description will be used inside the History View to list all changes that occured on the repository.